Moving out may not be as fun as many people insinuate. There is a lot to clean, pack and arrange in order to part ways peacefully with your landlord and reclaim back your initial deposit. There is also a lot to miss and more that awaits you. In short, it comes with a plethora of confusion and anticipation that calls for proper planning.But, let's face the reality. There are key factors that can make your face gleam and handle your worries with sheer joy. These end of lease clean up tips will break down the cumbersome load and ensure timely move out without any worry.1) Do not procrastinateMoving out is a process that starts in the mind. You cannot just wake up and start packing. Before the real day, there is a lot to be done. Do the bookings for the means of transportation. Keep the environment around you clear such as mowing the lawn. Water the flowers and trim where necessary.2) Do a pre-visitMany people move in only to realise that the place is unfit and is nowhere near to what they wanted. In a span of one to two months, they end up relocating hence wasting vital resources such as time, energy, and money. Before moving out, conduct a pre-visit and carefully assess the new environment. Jot down the standards that the new place should meet. With the help of your partner or parent, assess the place according to the standards. This greatly helps in determining the suitability of the place before the actual relocation. And, if done together, there will be no one to blame when any inconvenience arises.3) Inform the landlordHaving determined the suitability of the new home, you are now at liberty to inform the landlord that you are moving out. You are informing him to keep the initial bond at the fingertips and find time for the final inspection.4) Pack earlierThe more rooms you have, the higher the likelihood that you are hoarding different items unknowingly. These include unused clothes, toys, paperwork, and more. By packing earlier, you will be pretty sure of not leaving anything behind. It will give you adequate time to sort and arrange the items for sorting, donation, resale or burning where necessary. Don’t pack everything at once. Start with items you rarely use. As time goes, pack other items.5) Do the repairsFor the refund, you must work to reclaim the original look of the property. Fill all the cracks and repaint where necessary. Do the cabinets and the working surfaces. Repair any leaking tap and ensure that the drainage is well. Do the toilets and showers. Replace any broken mirror, window, or any other glass surfaces. Refill any hole created during the lease.6) Do an initial spot-checkOnce you have repaired any damage, it is time to do a walkthrough and ascertain the level of dust and debris accumulation. Since you know more about your rooms, you should not worry. However, in this step, only the vital areas such as under the beds, bathroom, kitchen, and toilet should be given deeper consideration. You can go ahead and create a simple move out checklist that will guide you through the second last step.7) Move everything outThis is the third last step. It should come when you are now ready to leave at any time of the week. In most cases, it comes three or two days prior to the D-day. Before relocating the items, make sure that you have cleaned the new home thoroughly. Secondly, make sure that you have carefully sorted and packed everything. Otherwise, for efficiency, you can transfer the items gradually, one after the other.8) Do a thorough cleaningBy removing the items, you should be remaining with halls and empty cubes to clean. As a result, the cleaning should be fast, simple but thorough. With the checklist, you have nothing to worry about. All you need is some detergent, cleaning equipment and gloves to get you started.Start by sweeping the surfaces and collecting any debris left behind. You can drop the debris in a designated spot for collection.In your course of cleaning, keep your attention to:The kitchen
- Clean the sink and ensure that it is draining properly.
- Scrub all the residue from the oven and keep it all clean
- Scrub of the stuck food particles and clean the microwave, freezer and fridge
- Scrub and dry-mop the floor
The bathroom
- Disinfect and clean the toilet
- Remove the lurking soap particles and clean the shower and bathtub
- Vigorously clean all the faucets, countertops and handles in the sink
- Wipe the mirrors
- Scrub and dry-mop the floors
The bedroom
- Clean the closets of any dust
- Scrub and dry mop the floors
Sitting rooms
- Simply mop and dry up the floors.
- Do the panes both outside and inside
The garage
- Sweep the surface clean and remove the oil stain
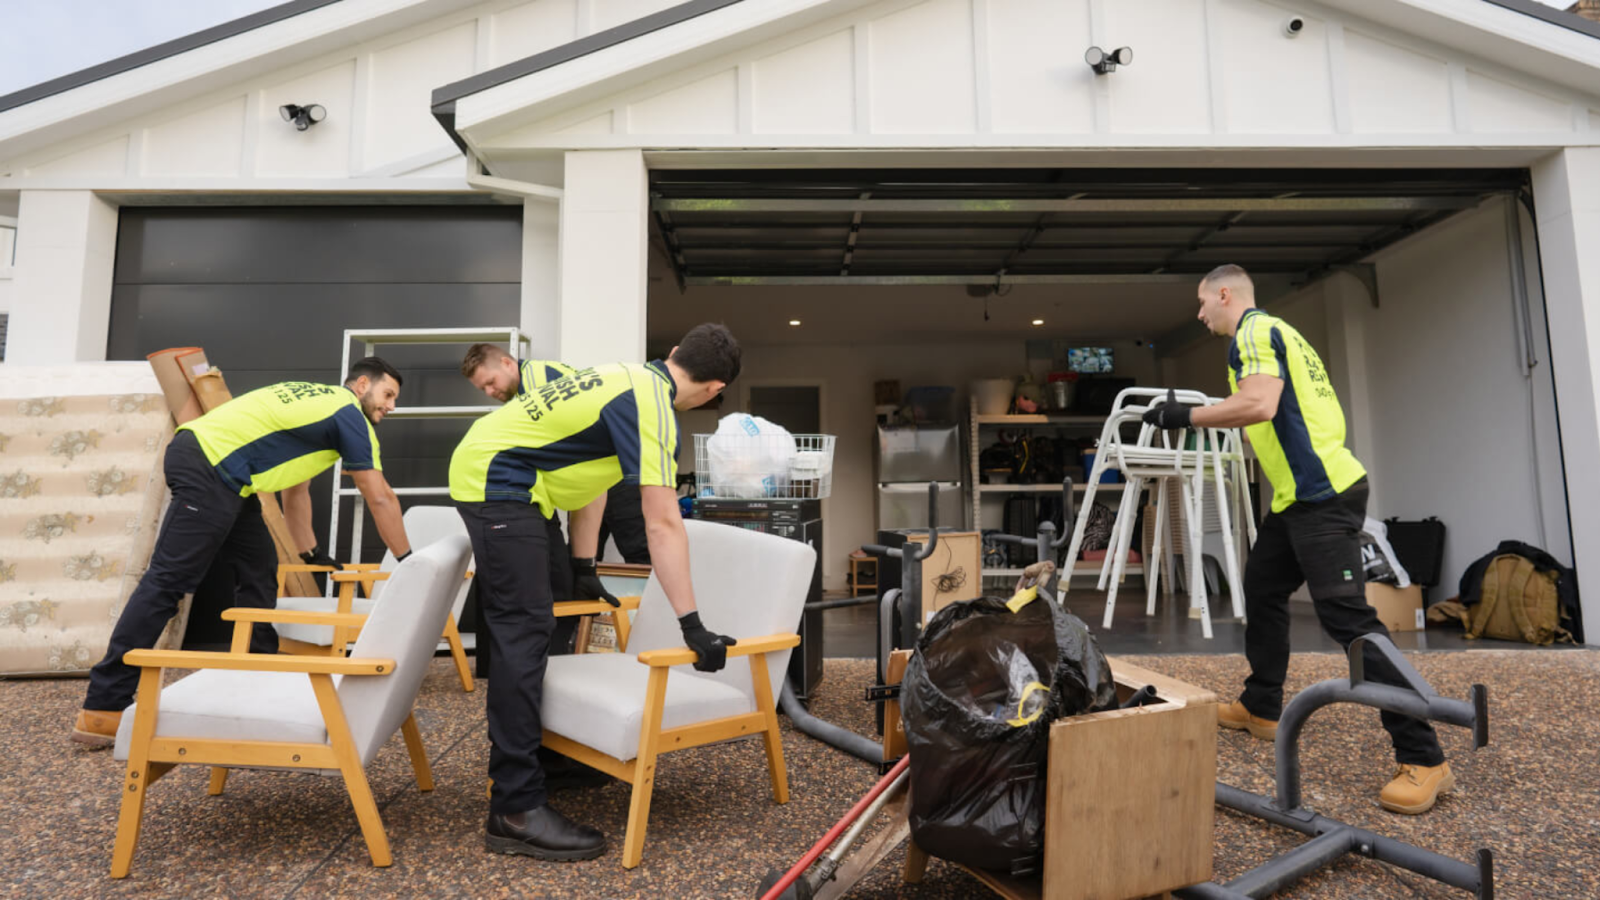
Having thoroughly done all the places above, do a final walkthrough to assess whether there is any place remaining. Feel free to redo any place not thoroughly done. After you have finished, cleaning and moving your belongings, you will have rubbish leftover for disposal.For convenience and high-quality decluttering and rubbish removal, you can hire a professional clean up company to do the work on your behalf. Besides, moving out cleaning is cumbersome when your home consists of more than six rooms. At Paul's Rubbish Removal, we offer a wealth of services along rubbish cleaning, rubbish collection and rubbish disposal. Call 0407 125 125 for exceptional 24-hour junk removal in Sydney.